There are no heirloom pieces to be passed down but they sure make for some more disposable pieces that will last for a season.
While there are ways to make these faux metallic earrings and necklaces a little more sturdy, they are great as is without too much fuss.
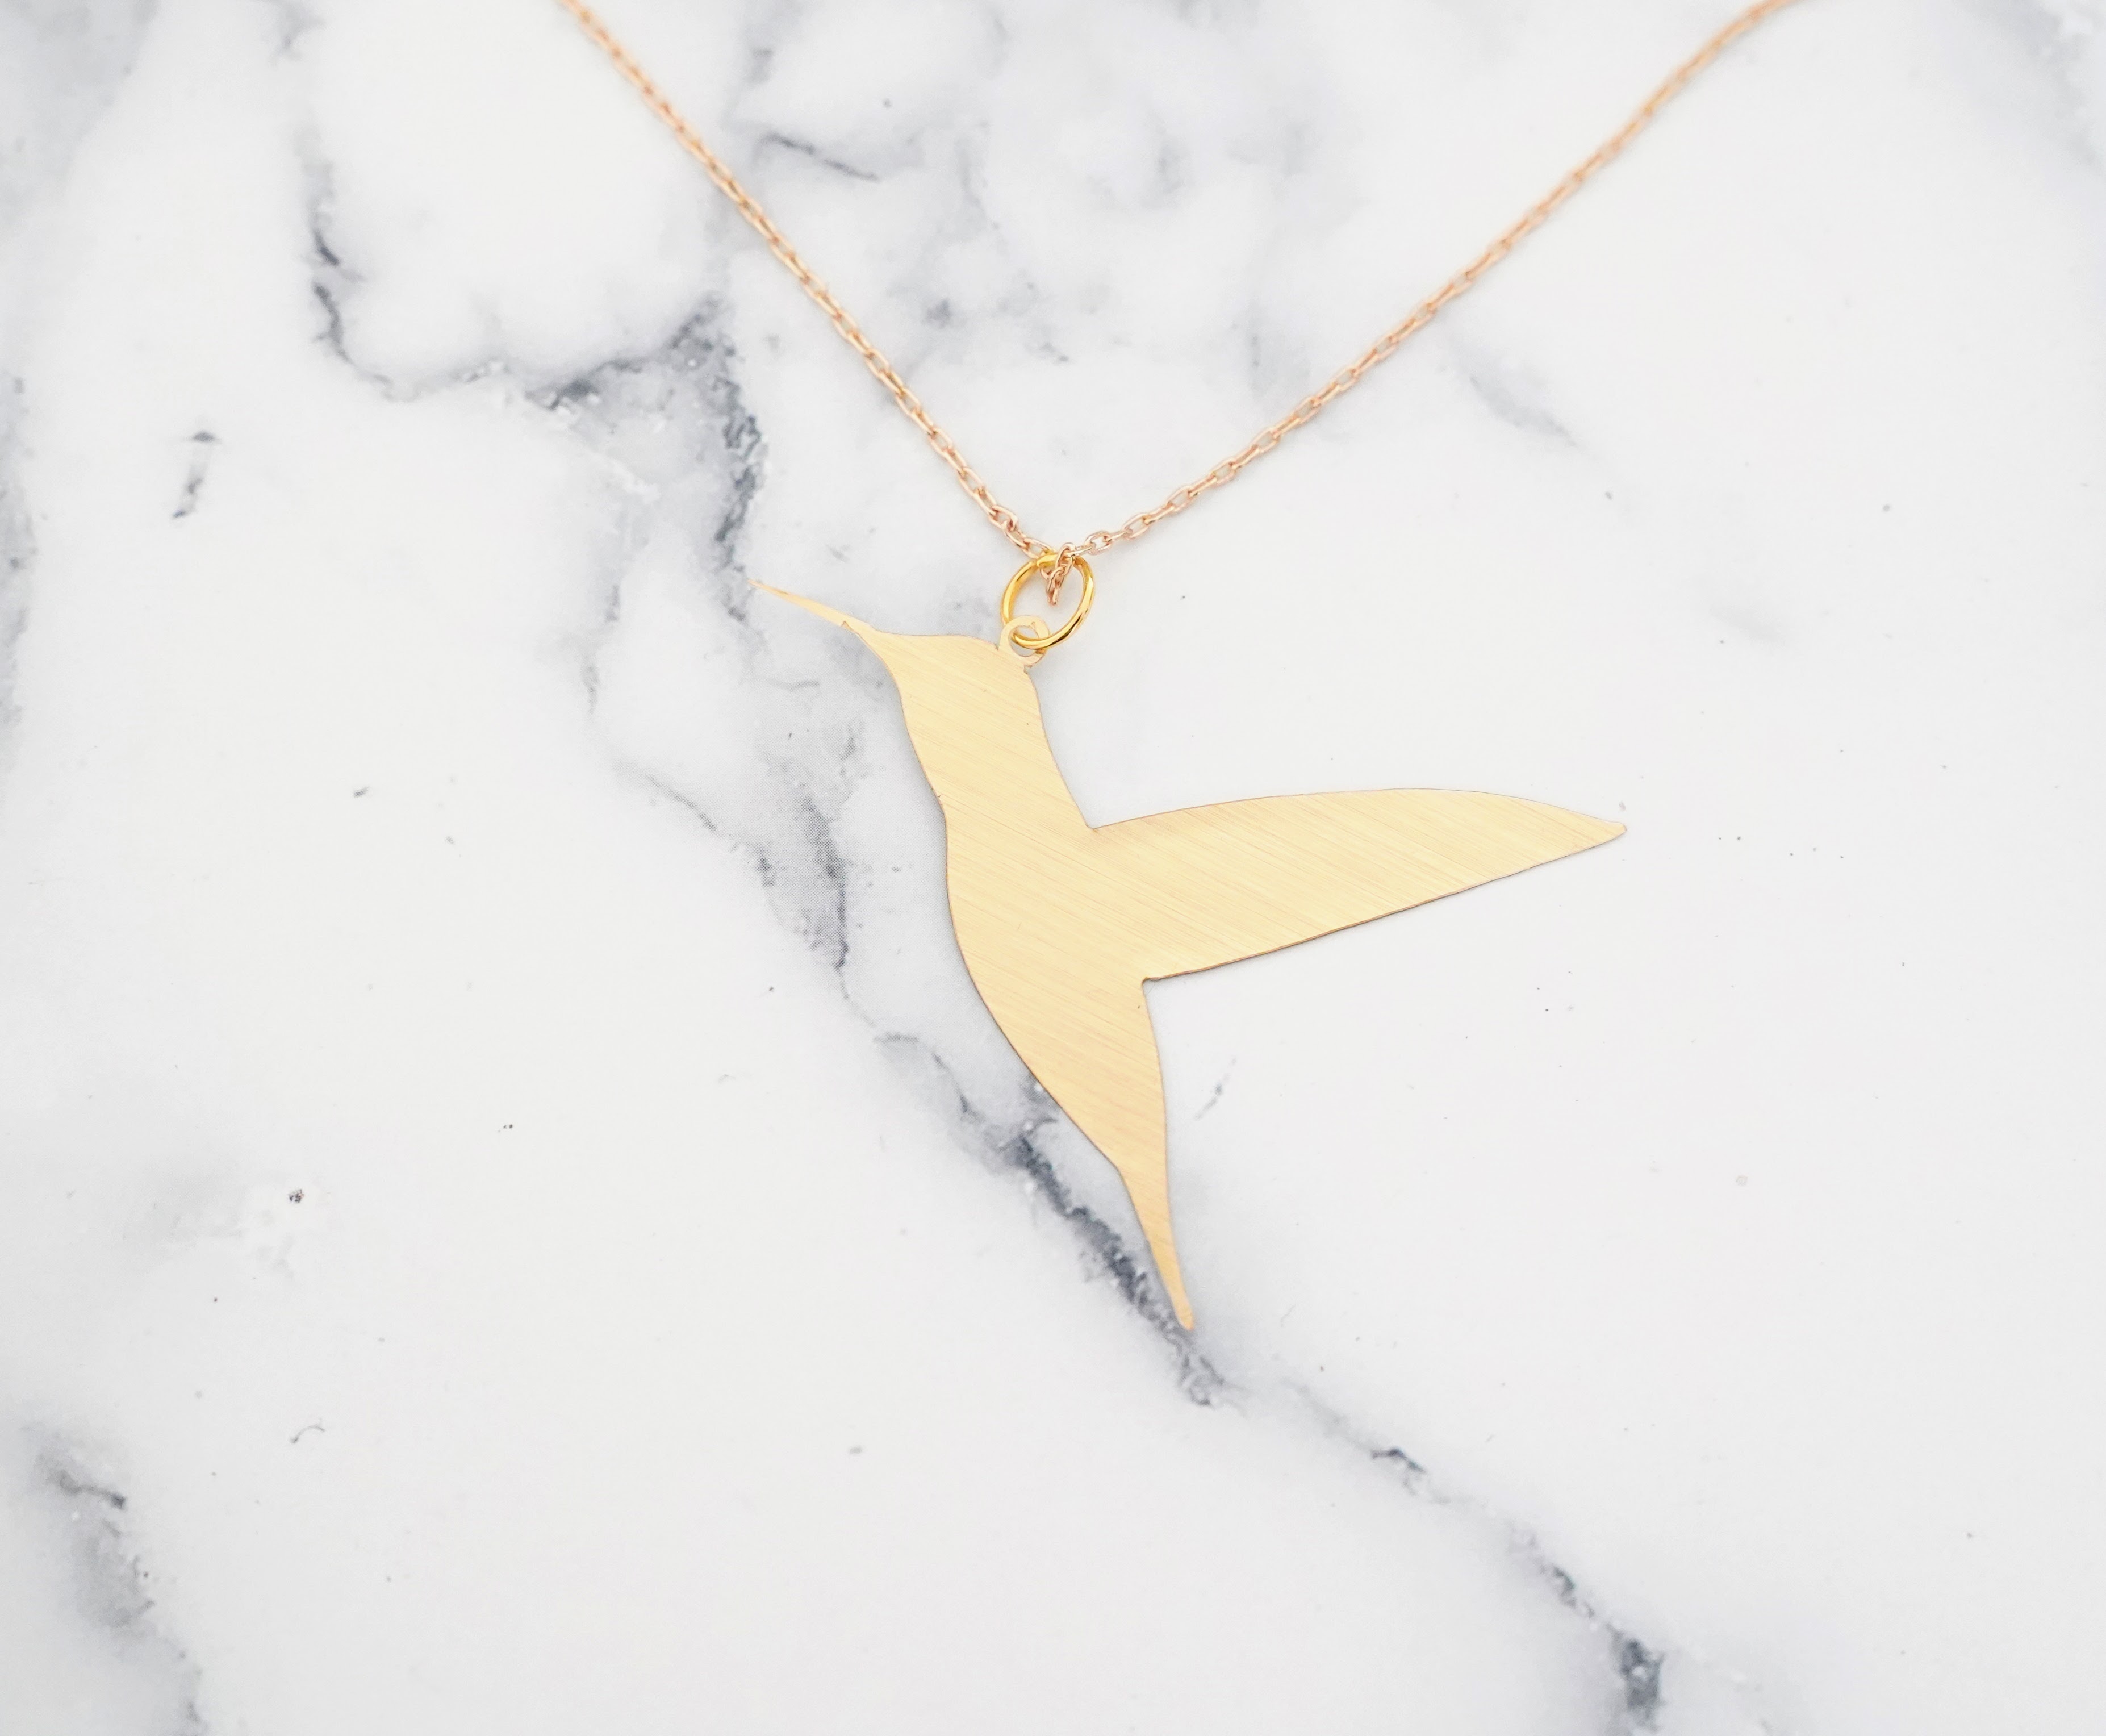
While everyone else has been making vinyl iron on customization to their leather earrings, I thought I would experiment a bit with other base materials.
I stumbled upon metallic permanent vinyl and mylar sheets most because I had both around. This combination allows you to sharper corners and more detailed designs because of the the rigidity of the material.


You could dip the whole thing in epoxy or resin which I did not experiment with because it is toxic and makes too much of a mess but maybe one day when I have a more dedicated crafting space that’s the the corner of our bedroom.
*this article contains affiliate links for your convenience, see full disclosures here
Materials for Faux Metallic Jewelry
Metallic Vinyl Sheets – My favorite is actually the brushed metallics in this generic brand assorted permanent vinyl sheets set.
Mylar Sheets – I like to use the 4mil thick sheets.
Jewelry Kit – I love these assorted jewelry kits. You can turn these designs into pendants or earrings with the variety they include in the jump runs and accessories.
Cutting Machine – I use a Cricut. Check out my recommendations for Cricut machines and accessories for beginners for more info.
Template – The templates for the jewelry in the photos are all available for free in both SVG and printable PDF formats in my resource library.
Tutorial on DIY Faux Metallic Jewlery
Step 1: Apply vinyl on mylar sheets
There is no need to cover the entire sheet. Just make enough to cover the design. Apply the vinyl on both sides of the mylar sheets and smooth out any air pockets.

Step 2: Cut the mylar sheets using the templates
I like to use a standard grip mat for these projects. There’s not much to clean up afterward and vinyl tend to peel off from the standard sheet easily.
I like to use the “plastic packaging” setting with a little “more” pressure. This seems to be sufficient to cut through the layers.

Step 3: Optional Sealant
If you don’t want to get out the epoxy, you could use Mod Podge sealant but it may lead to some streaks. I suggest just dipping the whole thing in the sealant so there are no brush streak marks.
Related Articles:
All DIY Decor Project Tutorials


