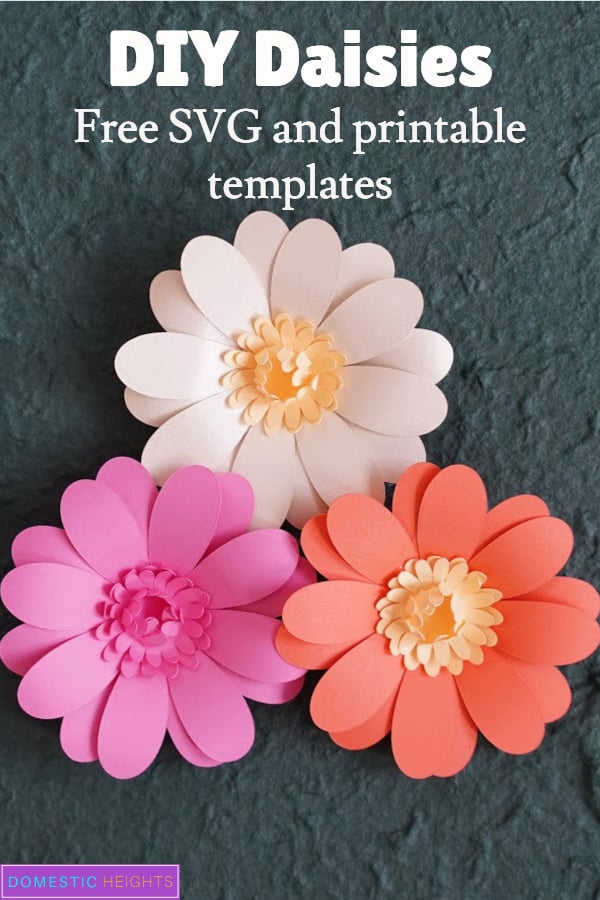
Paper daisy flowers are super easy to make. This is a tutorial for a paper daisy flower along with free daisy paper flower template in both SVG and printable formats.
This is one of my favorite paper flowers to make mostly because it is relatively straightforward to make yet it looks like it took a lot of effort.
Because there are many petals, I prefer making this one on the Cricut. But if you don’t have a Cricut, it is still possible to make them by hand.
These paper daisies are great by themselves or as part of a bigger craft or decor project. I’ve used these paper daisies in almost everything from handmade cards to shadow boxes to even a diaper cake!
While these paper daisies are quite versatile, it’s not an ideal paper flower for a bouquet. It takes an extra bit of effort to build a base to attach it to some floral wire.

I think this paper flower works best with medium weight cardstock. It is possible to make it with thinner paper and even origami paper but medium weight cardstock is both flexible enough to layer and stiff enough to hold a slight curl.
Daisies comes in all different colors so does medium weight cardstock. You can also mix and match colors for the stamen.
Materials for Cricut daisy flower:
*this article contains affiliate links for your convenience, full disclosures here
Cardstock – My favorite is this Neehah Collections brand, it’s super affordable, comes in an assortment of colors, has a colored core so you can’t see fraying.
- Assorted Starter Pack – Basic assorted colors, great starter pack, perfect weight for most papercraft projects
- Cricut Joy Insert Card Packs – You don’t have to use these with the Cricut Joy, they are nice material kids for cardmaking.
- Cardstock Warehouse Brand on Amazon – I love the quality of all the matte-colored cardstock with Cardstock Warehouse. It is my go-to brand for individual matte colors that I might need
- Poptone Assorted Variety Pack – This is the perfect peppy assortment of colors of heavy cardstock. It’s a heavy cardstock assortment with colors I actually use frequently for cardmaking.
- Seasonal Assorted Variety Pack – This is a slight variation on the Poptone assortment and has a quite few neutrals that complement almost any accent color.
- Stardream Metallics Line – For paper crafts, the Stardream line is the go-to for a metallic shimmer finish. It is the perfect sheen to make any project pop. The core is also colored is which hard to find for metallic paper.

Glue – I like nontoxic polymer glues for paper flowers. Here’s a couple of my favorites:
- Art Glitter Glue – All-purpose non-toxic polymer glue with a fine tip, dries fast with minimal paper warping.
- Hot Glue Gun – My favorite cordless hot glue gun, an essential for fast petal to petal gluing
Cutting Machine – I use a Cricut. Check out my recommendations for Cricut machines and accessories for beginners for more info.
Templates – Both the free printable daisy templates to cut out and SVG version are available for free in my resource library:
How to make DIY daisy paper flowers
I’ve revised this template over time and have simplified both the cutting and assembly process. If you used an earlier version of the template, check out the latest from my free resource library to get the latest updates.
I love doing semi-rolled paper flower designs. You get the three dimensional effect with the slight angling of the petals but the easy of assembling because it is a petal strip.
Step 1: Cut out the daisy petal template
I use my Cricut cutting machine to cut most of paper flower templates. This one in particular is super easy with the Cricut.
I like using a fresh light grip blue mat for this paper flower. It is not so complex in design that the light grip isn’t sticky enough to hold it in place while it’s cutting. I find the standard green mats have gotten really sticky in recently and make cleanup for cardstock projects take a really long time.

Step 2: Curl daisy petals template cutouts
I like to use a scraping device to curl both the outer petals and the stamen pieces. If you don’t have a dedicated scraper, just use a ruler or credit card. I didn’t buy a dedicated scraper for the longest time and just used my scraper for my cast iron pan!
When curling the stamen pieces, try to hold the base of the petal as you scraping to minimize the likelihood of accidentally pulling off the petals.

Step 3: Glue the daisy petal loop together
There is a dedicated tab to glue the loops together. I like using a paper clip to hold it in place while the glue sets. If you are in a hurry, try using a glue gun instead of Aileene’s glue. It only takes a few seconds to set.

Step 4: Glue each layer together
I simply just stack the petal loops on top of each other. I apply a little bit of glue on the base of the top petal loop. Be sure to offset the petals.

Step 5: Assemble all daisy stamen layers on top of each other.
Do the same with the stamen layers. Curl the petals first and then glue them on top of each other. I like to give the layered stamens a few minutes to set before gluing it to the base petal loops.
Once the stamen is placed on the base petals, just push it down with a gentle nudge.

Related Articles:
All DIY Decor Project Tutorials


Although it sounds intimidating, I can guarantee you that making paper daisy flowers will be easy. As I have said, these paper flowers are my favorite. So, I can highly recommend this DIY paper flower to beginners who wanted to try making paper flowers. Just make sure to follow every step in this article.
Before starting, I have a few pointers you. This is to ensure that you are doing this properly. Who wants to waste time making crafts incorrectly? No one, right? So, let us get started.
One of the first things I am very particular about is the availability of all the items before and during the crafting process. Please do not be those people who started crafting, but stop mid-craft to buy some lace or find for their scissors. That is time-consuming and could stop your momentum. Trust me I have been there, and it was not fun.
Another thing is that, as I have pointed, you do not need a Cricut to cut petals of the daisy flower. However, it will take you a lot longer to cut this manually. But, if you are doing this as a hobby, or you are not in a hurry, then good for you!
Now that we laid some rules, we could get started! As I said, do not be intimidated as you started crafting. You would love the process as long as you do not push yourself too much.


Where is the free file to download?
Hi there, all the templates are in my resource library. A link to it is available in the menu bar.
Free svg template please
Hi,
Please write to us at info@domesticheights.com and our elf will help you out.
Would love to have the password…thanks.
Apparently you need a password to enter your resource library.
Thank you so much for this! It turned out perfect and was easy to follow. We used it to make a bouquet of paper flowers for teacher appreciation last month 🙂
How do I download the free template as I do not have access to your files?
Hi there, all my free templates are available on the “free resources” page, see link in menu bar.
Great tutorial! Thank you!
Would love to download, but there’s only a login option on your Free Resources – with no way to sign up as a new person.
Hi Carrie,
Please drop an email to info@domesticheights.com and our elf will help you out.
unable to download svg wants you to sign up , please help with this
Hi,
Please send an email to info@domesticheights.com and we will send it over.
Am in your free resources but can’t where or how to get the daisy file.
Hi,
Please search (use the search bar) in the library for the design.
Alternatively, please write to us at info@domesticheights.com and our elf will send it over.